How to Export Your Scraped Data to Json, CSV, or a Database
This guide continues the Anonymous Scraping series and assumes familiarity with core scraping concepts and privacy-preserving techniques introduced earlier.
Data is the most valuable resource in the world. But unless you process, and derive valuable insights from it, your scraped data is worthless.
But of course, to export scraped data, you first need to scrape some data. So if this is your first contact with the series, you may want to catch up:
Scraping with Incogniton
Learn how to scrape dynamic web content using Incogniton and Puppeteer for privacy and efficiency.
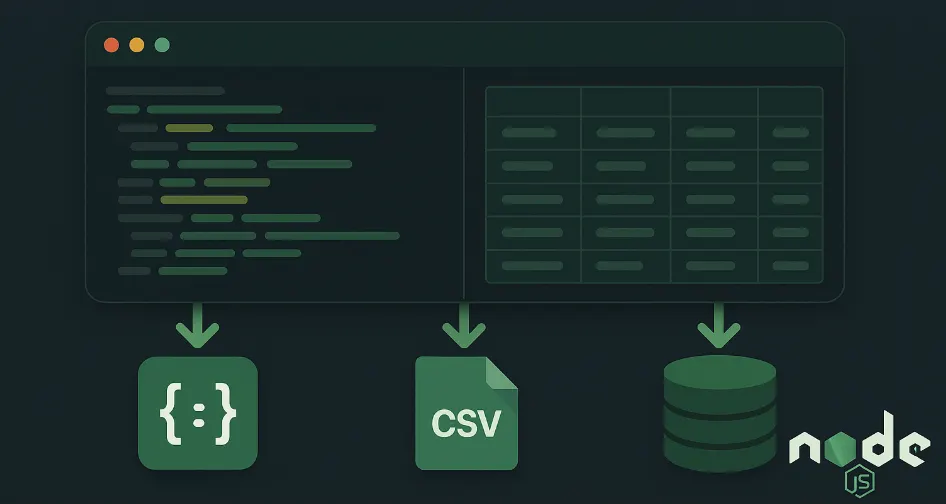
In this guide, you will learn how to export data from a NodeJS server. There is a wide array of possible formats, which would include: JSON, XML, CSV, XLSX, or even storing it in databases like MySQL and MongoDB.
I’ll focus on JSON, CSV, and database exports, as they cover the predominant use cases and offer a balance of simplicity and versatility.
Brief Overview
Here’s a quick rundown of the formats I’ll be covering, alongside their practical applications:
- JSON (Javascript Object Notation): The most widely used data interchange format for web apps and APIs. It’s lightweight, easy to parse, and handles nested data quite well. Ideal for sharing data between servers and clients, or interacting with APIs.
- CSV (Comma-Seperated Values): A popular choice for data analysis and reporting. It’s compatible with spreadsheet tools like Excel and Google Sheets, making it a great choice for data like product prices and contact lists where the data fits into a table.
- Databases (MySQL, MongoDB, etc.): For storing large evolving datasets with complex relationships. Databases provide efficient data management, scalability, and powerful querying capabilities. Ideal for large-scale automated data collection systems, such as customer review trackers or generative AI (LLM) training platforms.
Prerequisites
A working knowledge of Javascript and Node.js will do. Familiarity with Prisma ORM is a plus as well, but not required.
Project Setup
For the fact that you made it to this piece, chances are you have your data prepped, or maybe you’re just here for the know-how. If it’s the latter, and you’d like to code along, then I got you covered.
I’ve put together a starter file in the Anonymous-scraper project to get you up and running in three simple steps:
- Clone the anonymous-scraper repo.
- Install the dependencies using
npm install. - Run the
export-starter.jsscript using thenodecommand as shown below:
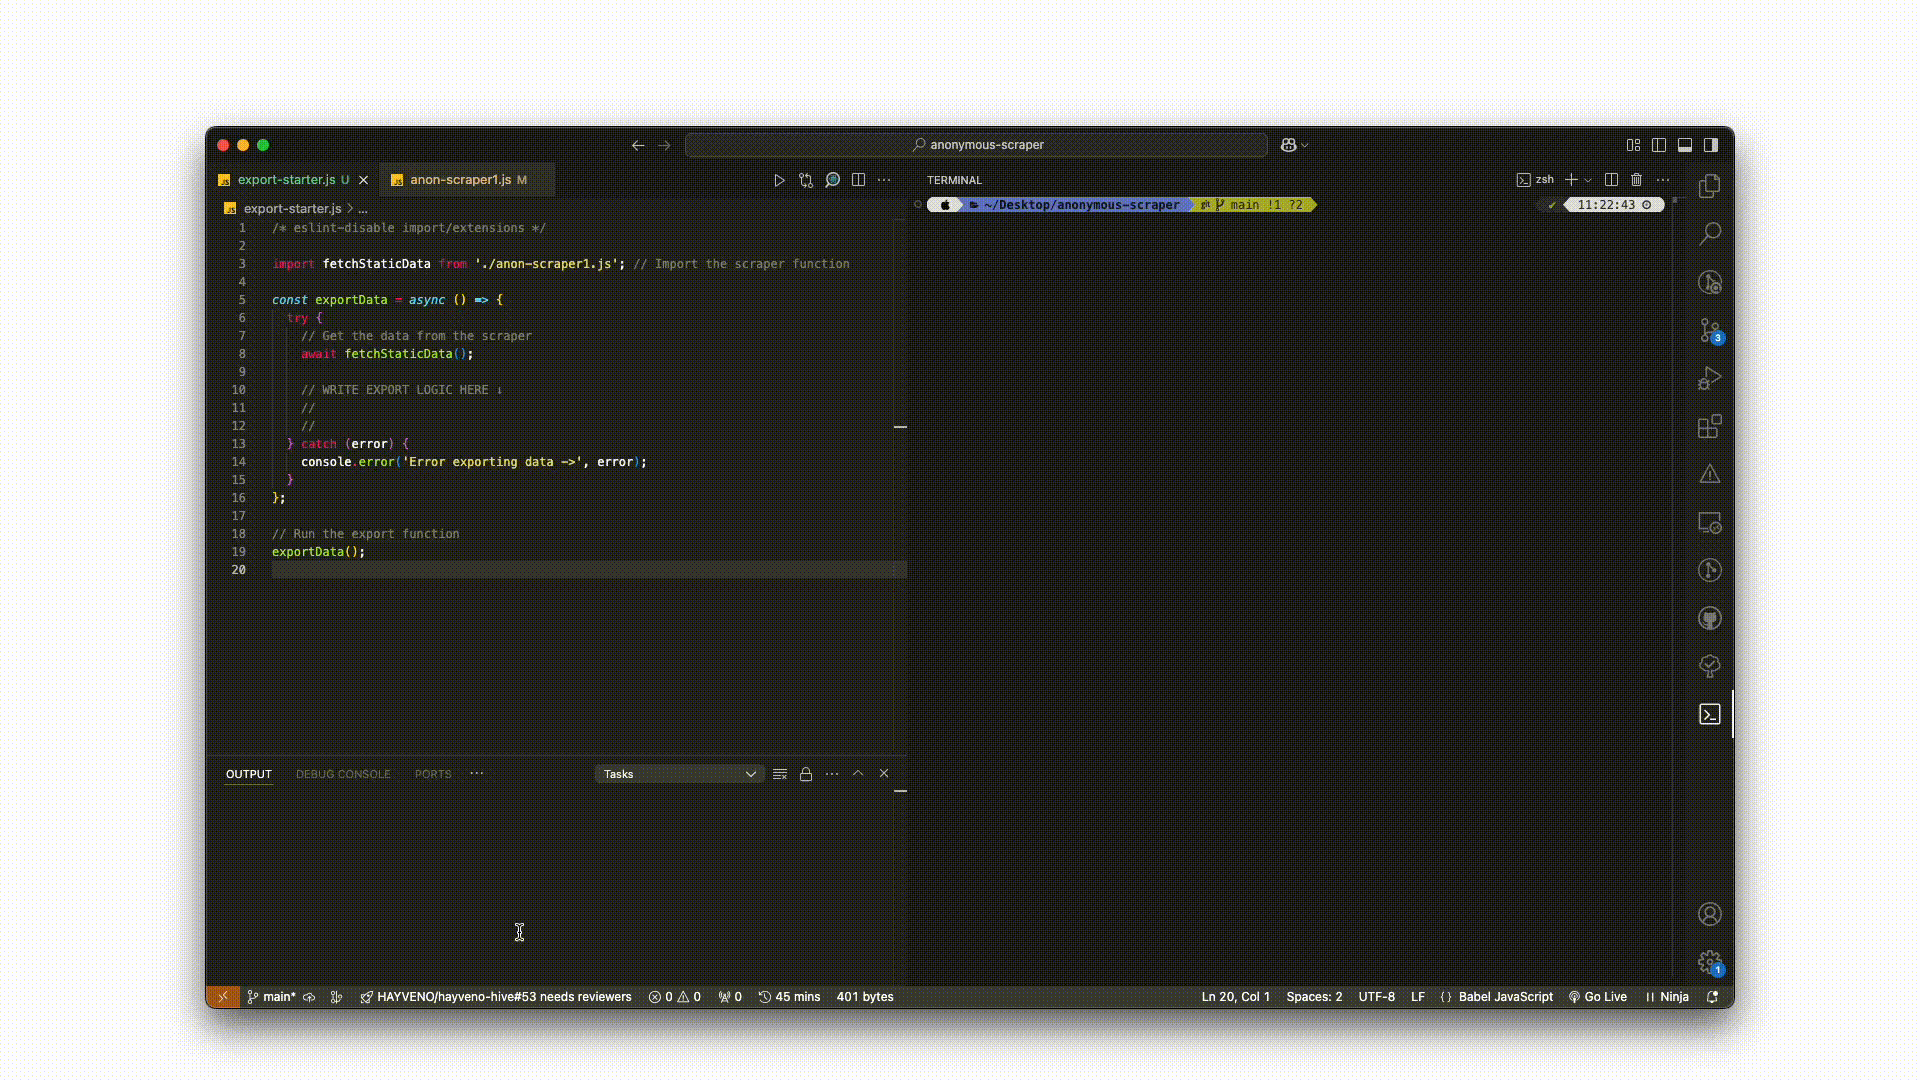
On the other hand, if you already have a dataset, simply swap out fetchStaticData() with the scraping function that returns your data.
In the following sections, I’ll break down the process for exporting data via each of the outlined formats:
1. Export as JSON
Saving the data to a JSON file will require us to write our array data to a file, using the file system. Luckily, Node.js has the in-built filesystem (fs) module to take care of that. We’ll use the fs.writeFile() method from the built-in fs module.
See snippet:
Export to JSON (Node.js)
import fs from 'fs/promises'
// Function to save data to JSON
const exportToJSON = async (data, filename = 'scraped-data.json') => {
  try {
    // Write to JSON file
    await fs.writeFile(filename, JSON.stringify(data, null, 2), 'utf-8')
    console.log(`Data exported successfully to ${filename}`)
  } catch (err) {
    console.error(err)
  }
}
export default exportToJSON
// usage example:
// await exportToJSON(scrapedData);
The exportToJSON function leverages the fs module to asynchronously write your scraped data array to a scraped-data.json file. I recommend setting the third argument of JSON.stringify to "2" as shown above — this adds indentation to the output data, making it much easier to read.
Typically, the generated JSON file’s content looks like this:
Sample JSON Output
[
  {
    "name": "A Light in the ...",
    "price": "£51.77"
  },
  {
    "name": "Tipping the Velvet",
    "price": "£53.74"
  },
  {
    "name": "Soumission",
    "price": "£50.10"
  },
  {
    "name": "Sharp Objects",
    "price": "£47.82"
  }
  // other products...
]
From here, you can open the file in Finder/File Explorer for inspection, transfer it to other systems or APIs, or continue working with it directly in your Node.js application.
2. Export as CSV
Just as with its json counterpart, exporting data to CSV also demands that we write a .csv file. But before that, we need to transform our JavaScript array into properly structured CSV data — which means handling delimiters, headers, and edge cases.
That’s a lot of code. Instead, we will use the json-2-csv package, which does all the heavy lifting for us.
Export to CSV (Node.js)
import fs from 'fs/promises'
import { json2csv } from 'json-2-csv'
const exportToCSV = async (data, filePath) => {
  try {
    // Convert JSON data to CSV format
    const csvData = await json2csv(data)
    // Write the CSV data to a file
    await fs.writeFile(filePath, csvData)
    console.log(`Data successfully exported to ${filePath}`)
  } catch (error) {
    console.error('Error exporting data to CSV:', error)
  }

  //example usage - saves the data to anon-scraped.csv
  exportToCSV(scrapedData, './anon-scraped.csv')
}
This function saves your scraped data to a file named anon-scraped.csv in the current directory, which you can open and process with any CSV-compatible software, including Excel and Google Sheets.
But there’s a caveat: if your data contains varying object keys, that would lead to missing or misaligned values in the exported CSV file. Bear in mind that CSV files rely on a consistent object structure.
See example:
Example: Inconsistent Data for CSV
const scrapedData = [
  { name: 'Product A', price: '£10' },
  { name: 'Product B', cost: '£15' },
  { name: 'Product C', price: '£20', category: 'Books' },
]
To solve the problem of inconsistencies with this sort of data, we’ll explicitly state the required headers using the keys options. See snippet below:
Specify CSV Headers
// Define the headers
const csvOptions = {
  keys: ['name', 'price', 'category'], // Specify the table headers
}
const csvData = await json2csv(data, csvOptions)
// remainder of the logic...
That solves it. The keys in the array serve as the CSV headers irrespective of the data shape.
Next, we address the most complex approach of the bunch.
3. Export to a Database
Compared to previous methods, storing your data in a database requires a couple more steps. But to keep it simple, I’ll use the Prisma-MySQL combination: easy to set up, gets you started in just three steps, and best of all, spares you the pain of writing raw SQL.
Step 1: Install Prisma
Install Prisma and the Prisma-Client by running the following command on your terminal:
Install Prisma & Client
npm install prisma @prisma/client
Step 2: Configure Prisma with SQL
You’ll need to get your SQL connection URL/string. If you are using a cloud database, such as PlanetScale or AWS RDS, refer to their dashboard for the correct connection string. The URL format typically looks like this:
Sample MySQL Connection String
mysql://USER:PASSWORD@HOST:PORT/DATABASE_NAME
Store your connection string/database URL as an env variable file as it is
sensitive data.
Sample .env File
DATABASE_URL=mysql://USER:PASSWORD@HOST:PORT/DATABASE_NAME
Ensure the SQL database server is running, and the credentials provided in the .env file are correct. Incorrect credentials or a missing database may result in connection errors.
Step 3: Define the Database schema
Prisma operates with a schema file prisma/schema.prisma that defines your data structure. Modify it to include a model for storing scraped data:
datasource db {
  provider = "mysql"
  url      = env("DATABASE_URL")
}
generator client {
  provider = "prisma-client-js"
}
model ScrapedData {
  id        Int      @id @default(autoincrement())
  name      String
  price     String?
  createdAt DateTime @default(now())
}
Next, apply these schema changes to your database, running the migration command:
npx prisma migrate dev --name init
If you face migration related errors, check that Prisma is properly
initialized by running npx prisma generate
Step 4: Insert Data into the Database
Once your database is set up, you can use Prisma Client in your Node.js application to insert scraped data. First, import the client:
const { PrismaClient } = require('@prisma/client');
const prisma = new PrismaClient();
Then, insert a record:
async function run() {
  await prisma.scrapedData.create({
    data: {
      name: 'Sample Item',
      price: '$20.99',
    },
  })
  console.log('Data inserted successfully')
  // Optionally, query and log all records
  const data = await prisma.scrapedData.findMany()
  console.log('Stored data:', data)
}
run()
  .catch((e) => console.error(e))
  .finally(() => prisma.$disconnect())
This singleton approach ensures efficient database communication throughout your application. You not only optimize resource usage but also simplify connection management — paving the way for scalable and maintainable code.
That brings us to the end of the series — congrats on reaching the very end!🎉
Conclusion
At the end of the day, data is only as valuable as what you do with it. Whether it’s converting it to JSON for lightweight storage, streaming it to CSV for analysis, or pushing it directly into a Database for real-time application, how you store and structure your data determines its value.
Now you know how to do just that. But knowing is only half the battle, implementation is where the real value lies. So go ahead — leverage public data responsibly, respect legal and ethical boundaries, and drive innovations.